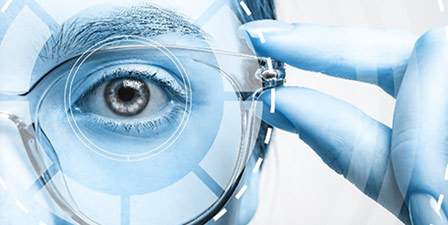

There isn't a optical school in the country that doesn't spend a great deal of time training their student on how use a traditional lens meter for lens and prescription verification, and with good reason. Although this instrument has been around in more or less its current form for near a century, it still remains the essential benchmark in eyecare professionals' offices. Today, technology has delivered a even more advanced version of our trusted companion, the automated lens meter. Which one is better? Opinions vary. But one thing is sure: Knowing how to properly use each is the key to fully realizing its benefits. And maybe, just maybe, understanding why the optimal use of one almost certainly requires simultaneous use of the other.
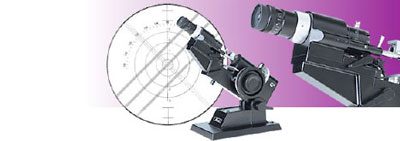
Click here for more information about this Lensmeter
Whether verifying a lens from a lab, or a complete pair of eyewear, knowing how to obtain accurate, repeatable and reliable readings of power, prism, and axis is essential to master before one can interpret or apply tolerances or make quantitative judgments with respect to ANSI standards.
Let's take a look at the 3 most important aspects of a manual lens meter that you should ensure are working properly before you begin to take worthwhile readings:
- Power Calibration: It doesn't matter how precisely you turn the power wheel of a manual lens meter if there is a question about fundamental calibration the instrument. So how do you know whether your instrument is accurately calibrated? You can start by employing a test gauge or test lenses designed for such purposes. But for the vast majority of prescriptions you will verify, those under 6 diopters, most manual models will yield accurate power reading using the following modification to the traditional approach to eyepiece setup: Carefully set the focus wheel to precisely PLANO [0.00D]. Then twist counter-clockwise the eyepiece (in effect, racking it out) to the end of its travel. Then carefully turn the eyepiece clockwise (racking it in) until the target mire is crisply focused. Avoid hunting back and forth around the focus sweet spot. Repeat the procedure 2-3 times, and note where the index dot of the eyepiece falls on average. Use this eyepiece setting anytime you use this particular instrument. Each instrument is different, and you may have different indices on different instruments. This method compensates for the operator's eye error and the basic power calibration of the instrument. Please note that this method may result in the eyepiece reticule being slightly out of focus for some operators. That’s OK.
- Axis: Accurate axis is dependent on three items: a stable and wobble-free frame table, a properly aligned axis wheel and a properly aligned lens inker/marker. Having a proper test gauge or lens at hand is essential to verify axis calibration.
- Lens Marker: Here's a quick way of checking if your marker is set up correctly:
Take a pair of frames with an Rx around -2.00sph -3.00cyl. Place it on the frame table and center the lens target. Mark the lens with the marker. Now, turn the lens around so the convex side is toward the lens stop, and re-center the target mire. Mark the lens.
If your marker is on axis and centered properly the dots will be co-parallel and appear to be almost superimposed upon each other.
If the dots are parallel but displaced laterally, your marker is marking on axis but not on center.
If you are game, loosen the adjustment screws slightly, and through trial and error, correct both axis and centering until the superimposition error is no more than half the diameter of a single dot.
Since your lens meter is probably the most essential instrument in the shop, if you are in doubt about its calibration, invest the money to have a professional perform a complete cleaning and alignment. Need calibration call your lab or see this link.
Other websites:
usophthalmic.com/Lensmeter-Gauges
pomonline.com/lensmeters
topcon.com.sg/medical/cl
lpoproducts.com/lensmeters
NEXT, Part 2: Using an Automated Lens Meter.